Setup With ROS
The documentation assumes that ROS Kinetic is already installed on the host pc (Ubuntu 16.04). If not, follow the instructions below.
Install ROS Kinetic
http://wiki.ros.org/kinetic/Installation/Ubuntu
Open a terminal and type in the following
sudo sh -c 'echo "deb http://packages.ros.org/ros/ubuntu $(lsb_release -sc) main" > /etc/apt/sources.list.d/ros-latest.list'
sudo apt-key adv --keyserver hkp://ha.pool.sks-keyservers.net:80 --recv-key 421C365BD9FF1F717815A3895523BAEEB01FA116
sudo apt update
sudo apt upgrade
sudo apt install ros-kinetic-desktop
sudo rosdep init
rosdep update
echo "source /opt/ros/kinetic/setup.bash" >> ~/.bashrc
source ~/.bashrc
RealSense ROS Package Install
There are a few prerequisites.
wget -O enable_kernel_sources.sh http://bit.ly/en_krnl_src
bash ./enable_kernel_sources.sh
Sensor package
sudo apt install ros-kinetic-librealsense ros-kinetic-realsense-camera
sudo reboot
Kernel 4.10 installation work-around
sudo apt-get install libglfw3-dev
cd ~
git clone https://github.com/IntelRealSense/librealsense.git
cd librealsense
mkdir build && cd build
cmake ../
make && sudo make install
cd ..
sudo cp config/99-realsense-libusb.rules /etc/udev/rules.d/
sudo udevadm control --reload-rules && udevadm trigger
./scripts/patch-realsense-ubuntu-xenial.sh
Additional dependencies
sudo apt install git htop
sudo apt install ros-kinetic-moveit ros-kinetic-pcl-ros
Setting dialout permission for Arbotix
Replace yourUserAccount with the system account you are using
sudo usermod -a -G dialout yourUserAccount
sudo reboot
Clone widowx_arm repository and build
mkdir -p ~/widowx_arm/src
cd ~/widowx_arm/src
git clone https://github.com/Interbotix/widowx_arm.git .
git clone https://github.com/Interbotix/arbotix_ros.git -b parallel_gripper
cd ~/widowx_arm
catkin_make
ROS control of the arm independent of the SR300 Sensor
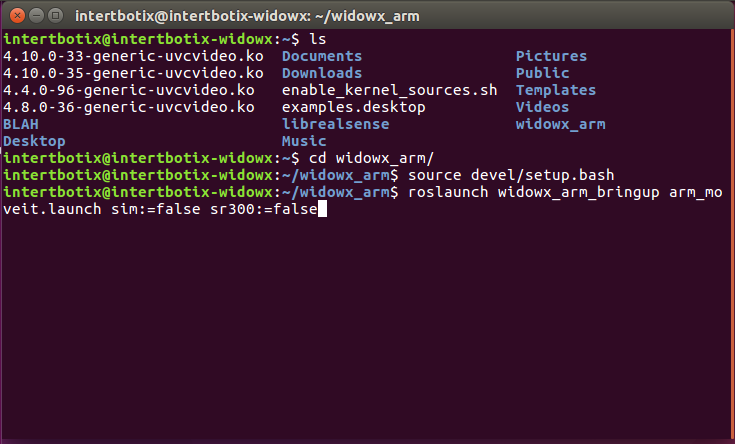
Open up a terminal window and enter the following commands.
cd ~/widowx_arm
source devel/setup.bash
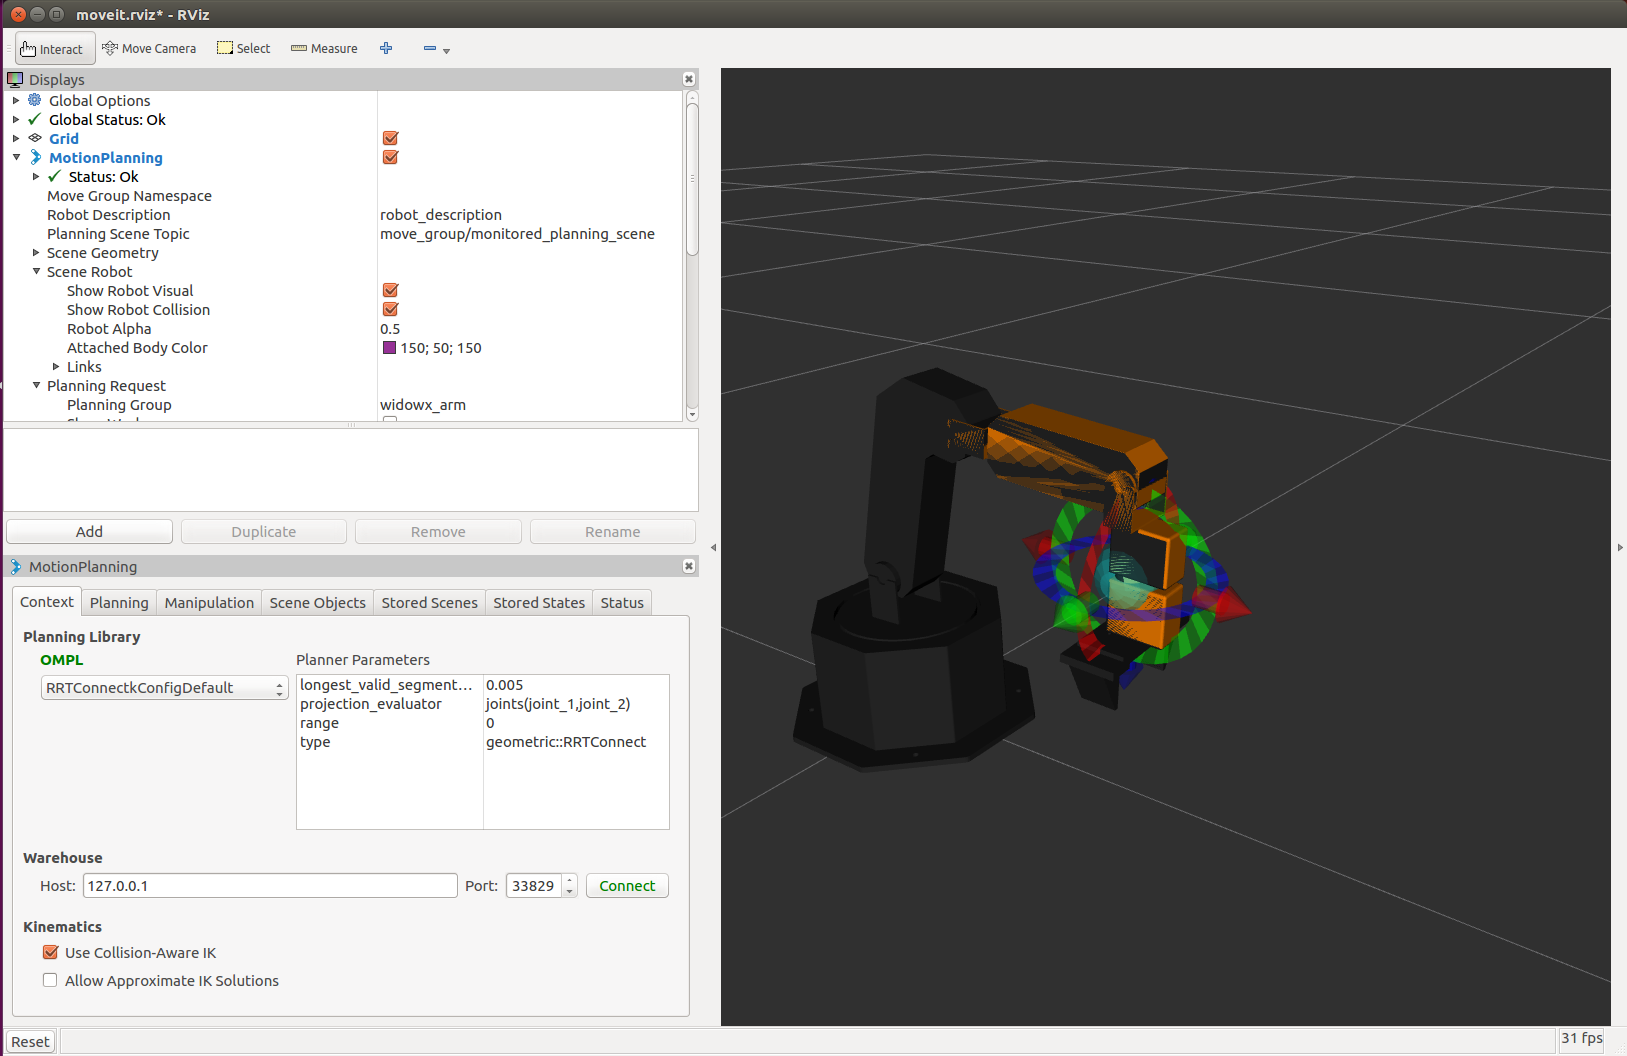
roslaunch widowx_arm_bringup arm_moveit.launch sim:=false sr300:=false
This should load RVIZ with the proper WidowX arm bringup. You can move the arm using the visual representation on screen, choosing one of the many “Planning Library” under the Context tab and then hitting “Plan and Execute” under the Planning Tab. There are also several presets you can choose from. Once you’re done, you can close the program by returning to your terminal window and pressing CTRL + C.
ROS control of the arm with the SR300 Sensor
Open up a terminal window and enter the following commands
cd ~/widowx_arm
source devel/setup.bash
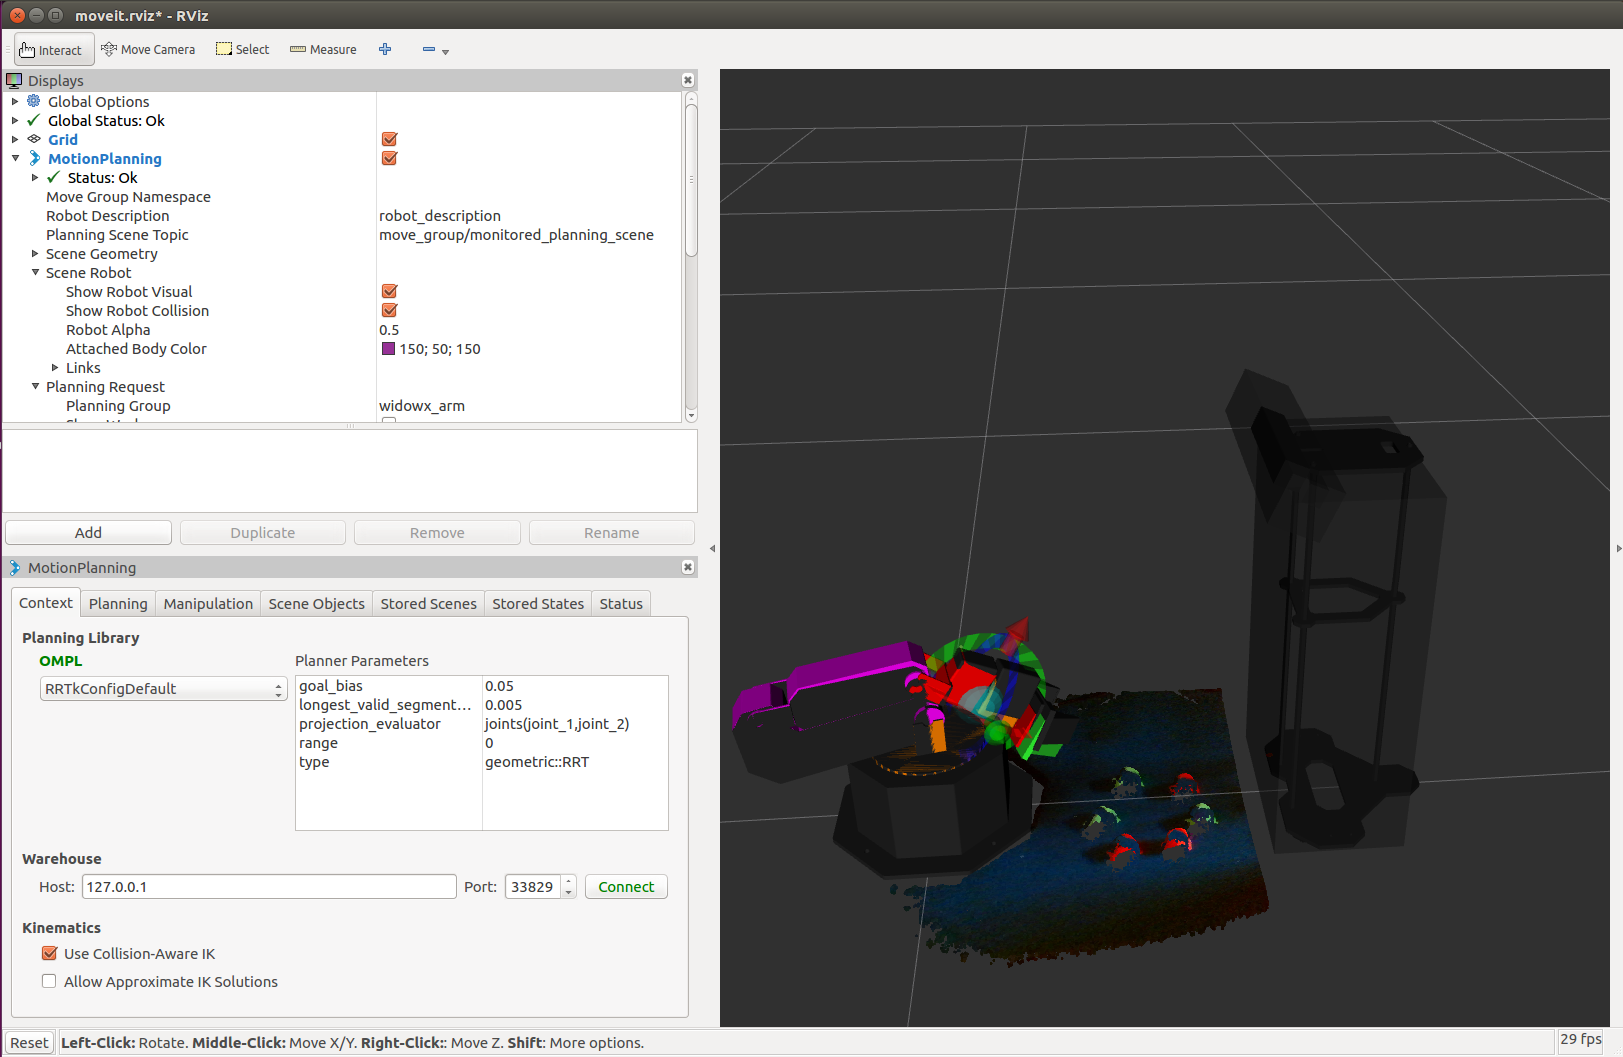
roslaunch widowx_arm_bringup arm_moveit.launch sim:=false sr300:=true
This should load RVIZ with the proper WidowX arm bringup, as well as load in the drivers for the SR300. You should see a 3D point map representation of your workspace on the right. You can still move the arm using the visual representation on screen, and hitting “Plan and Execute” under the Planning Tab. We need to move the arm so that we can adjust the camera angle and position.
Arranging your SR300
Keep the previous terminal open and change a few things in RVIZ. Under the Planning tab, in the Query options you will find the “Select Goal State” option. Select the pulled_back_pose from the goal state. Press Update, then press Plan and Execute. Your arm should move back to a pulled back state, allowing the camera to see the base of the WidowX. Change your view to a side view of the arm and camera representation. Move the SR300’s angle so that the representation of the workspace is level to the base of the WidowX on-screen. Change your view to an overhead view of the workspace. Move the Camera Stand so that the outline of the base of the WidowX matches to the cutout of the WidowX base on the SR300.
Open a second Terminal window. This will be a control window, so keep it visible when possible
cd ~/widowx_arm
source devel/setup.bash
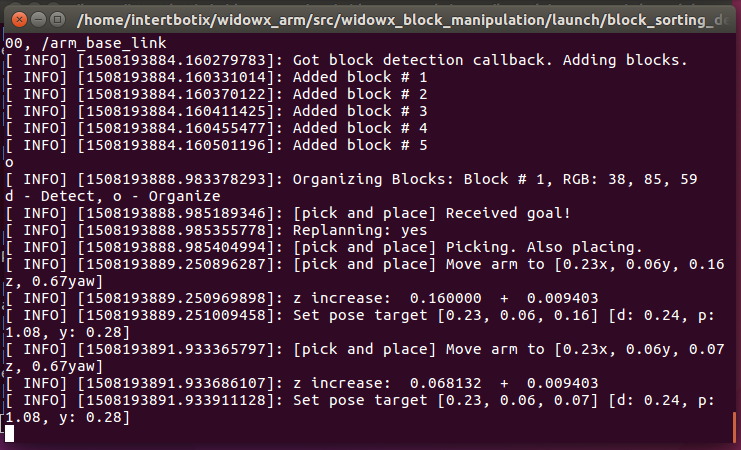
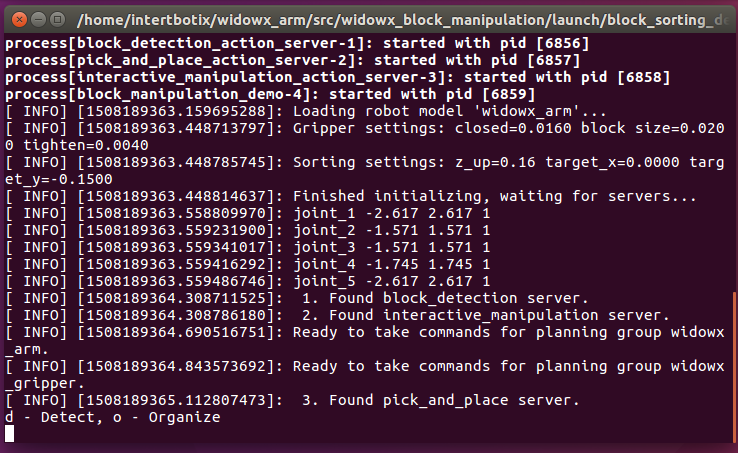
roslaunch widowx_block_manipulation block_sorting_demo.launch
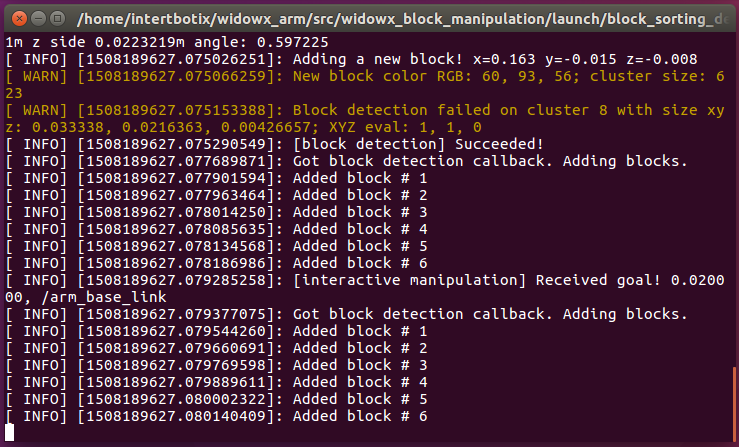
This demo will allow us to do some new things that utilize the SR300’s object detection abilities! Place blocks of different colors in the workspace (default are red and green), and in the terminal, type d for detection of the blocks and hit Enter. Where the blocks were, there should be gray cubes shown on screen. At this point, you can either automatically sort all blocks detected by typing o (organize) in the terminal and hitting Enter or you can use the 3D representation of the object in RVIZ to pick and place the block wherever you like on the x and y axis.
Options
Detection of Blocks
Organize/Sort the red and green blocks